In an era where digital complexity often obscures the mechanical heart of our vehicles, the traditional oil change remains a foundational rite of passage for the automotive enthusiast and the budget-conscious driver alike. While modern vehicles are increasingly reliant on sophisticated sensors and onboard computers, the fundamental requirement for clean lubrication persists as the single most critical factor in engine longevity.
This report examines the intricacies of the do-it-yourself (DIY) oil change, exploring the technical procedures, the underlying science of lubrication, and the shifting economic landscape of automotive maintenance.
Main Facts: The Pillars of Engine Maintenance
The internal combustion engine is a marvel of precision engineering, operating under extreme heat and pressure. Motor oil serves three primary functions: lubrication, cooling, and cleaning. By creating a microscopic barrier between moving metal parts, oil prevents the catastrophic friction that would otherwise lead to engine seizure. Furthermore, it acts as a thermal conductor, carrying heat away from the combustion chamber, and as a detergent, suspending microscopic debris and transporting it to a filtration system.
Despite the rise of electric vehicles, tens of millions of internal combustion engines on the road today require regular oil intervals to remain operational. For the DIYer, the primary motivations are often twofold: the psychological satisfaction of mechanical mastery and the logistical convenience of avoiding the scheduling hurdles associated with professional repair shops.
Chronology: The Step-by-Step Procedure for a Professional-Grade Oil Change
Executing a successful oil change requires a systematic approach. Deviating from the established sequence can lead to environmental hazards, mechanical damage, or personal injury.
Phase 1: Preparation and Safety
Before beginning, the vehicle must be parked on a flat, level surface. For many high-clearance vehicles like SUVs and trucks, ground clearance may be sufficient for access. However, sedans and sports cars typically require the use of ramps or a hydraulic jack paired with safety-rated jack stands.
Expert Note: Never work under a vehicle supported solely by a hydraulic jack; mechanical locks or stands are mandatory for safety. Once elevated, the parking brake must be firmly engaged.
Phase 2: Depressurizing and Airflow
The process begins under the hood. Locate the engine oil dipstick and the oil fill cap. By loosening the cap and pulling the dipstick up approximately two inches, you break the vacuum within the crankcase. This allows atmospheric pressure to assist in a smoother, faster drain once the plug is removed.
Phase 3: The Drainage Process
Crawl beneath the vehicle to locate the oil pan—a metal reservoir typically situated at the bottom of the engine block.
- Identify the Drain Plug: This is a solitary bolt located at the lowest point of the pan.
- Position the Catch Pan: Place a container capable of holding at least 6 to 8 quarts of liquid directly beneath the plug.
- The Extraction: Using a socket wrench or box-end wrench, loosen the plug. Once loose, unthread it by hand. Caution: If the engine was recently running, the oil may be hot enough to cause second-degree burns. Allow the oil to drain until it slows to a sporadic drip.
- Cleaning and Sealing: Wipe the drain plug and the pan’s orifice with a lint-free rag. Inspect the crush washer (gasket) on the plug; if it appears flattened or cracked, replace it. Reinstall the plug by hand to avoid cross-threading, then snug it with a wrench. Over-tightening can strip the threads, requiring an expensive pan replacement.
Phase 4: Filtration Management
The oil filter is responsible for trapping contaminants.
- Removal: Reposition the catch pan under the filter. Use an oil filter wrench if the unit is too tight to move by hand. Expect a small amount of residual oil to spill during this step.
- Preparation of the New Filter: Before installation, dip a finger in clean oil and coat the rubber gasket of the new filter. This "priming" ensures a proper seal and prevents the gasket from sticking or tearing during the next service.
- Installation: Spin the new filter on by hand until the gasket makes contact, then provide an additional three-quarters of a turn. Mechanical tools should rarely be used to tighten a filter.
Phase 5: Replenishment and Verification
Using a funnel, pour the manufacturer-recommended volume and viscosity of oil into the fill cap. Once the cap is secured and the dipstick is re-seated, start the engine. Let it idle for one minute while inspecting the underside for leaks. Finally, shut off the engine, wait for the oil to settle, and check the dipstick level to ensure it falls within the "Full" range.
Supporting Data: The Science of Lubrication and Interval Metrics
Understanding why we change oil is as vital as knowing how. Over time, motor oil undergoes thermal breakdown. The chemical additives—such as anti-foaming agents, corrosion inhibitors, and viscosity index improvers—deplete.
The Viscosity Factor
Viscosity refers to a fluid’s resistance to flow. In cold temperatures, oil must be thin enough to flow instantly to the upper valve train upon startup. At high operating temperatures, it must remain thick enough to maintain a protective film. Modern multi-grade oils (e.g., 5W-30) use polymers that expand as they heat up, allowing the oil to provide "the best of both worlds."
Synthetic vs. Conventional
- Conventional Oil: Refined from crude oil, these lubricants are effective but contain inconsistent molecular sizes, leading to faster degradation.
- Synthetic Oil: Engineered in a laboratory, synthetic oils feature uniform molecular structures. They offer superior resistance to extreme heat and better flow in extreme cold, often allowing for extended drain intervals.
The "3,000-Mile Myth"
For decades, the "3,000-mile rule" was the industry standard. However, data from automotive engineers suggests that modern engine tolerances and high-quality synthetic oils have rendered this obsolete. Most contemporary vehicles safely operate on 7,500-mile to 10,000-mile intervals. Drivers should always defer to their owner’s manual or the vehicle’s onboard Oil Life Monitoring (OLM) system, which calculates depletion based on driving habits and temperature.
Official Responses: The Mechanic’s Perspective and Economic Reality
While the DIY spirit is commendable, professional mechanics offer a sobering perspective on the financial benefits of home oil changes. In the modern automotive service market, the oil change is often treated as a "loss leader."
The "Loss Leader" Strategy
Most professional service centers charge a price for an oil change that barely covers the cost of the premium oil and filter. Their goal is not to profit from the oil itself, but to get the vehicle onto a lift where a certified technician can perform a multi-point inspection. This often uncovers more significant issues—such as worn brake pads, leaking struts, or cracked serpentine belts—which generate the actual revenue for the shop.
Risk Assessment
Professional mechanics warn that the "cost of error" for a novice can be astronomical. A cross-threaded drain plug or a double-gasketed oil filter (where the old gasket sticks to the engine and the new one is installed over it) can lead to a total loss of oil pressure within minutes, resulting in a destroyed engine that costs thousands of dollars to replace.
Furthermore, the environmental responsibility of disposing of used oil is significant. Used motor oil is a hazardous waste that can contaminate millions of gallons of fresh water if disposed of improperly. DIYers must take their used oil to a certified recycling center, adding a logistical step that professional shops handle automatically.
Implications: The Future of Maintenance in a Changing Landscape
The DIY oil change is more than a cost-saving measure; it is an act of stewardship. As vehicles become more automated, the "human-to-machine" connection is fading. Engaging in basic maintenance fosters an awareness of a vehicle’s health, allowing owners to spot leaks, frayed wires, or unusual noises before they escalate into dangerous failures.
Environmental Impact
The shift toward synthetic oils and longer intervals has a positive environmental implication: less oil is consumed and disposed of over the life of the vehicle. However, the responsibility of the DIYer remains paramount. Ensuring that every drop of used oil is recycled is a critical component of sustainable automotive ownership.
The Longevity Dividend
Ultimately, the implication of consistent oil maintenance is the extension of a vehicle’s lifecycle. In an economy where new car prices continue to soar, the ability to keep a vehicle running efficiently for 200,000 miles or more is a significant financial advantage. Whether performed in a driveway or a professional bay, the oil change remains the most effective "insurance policy" a driver can buy.
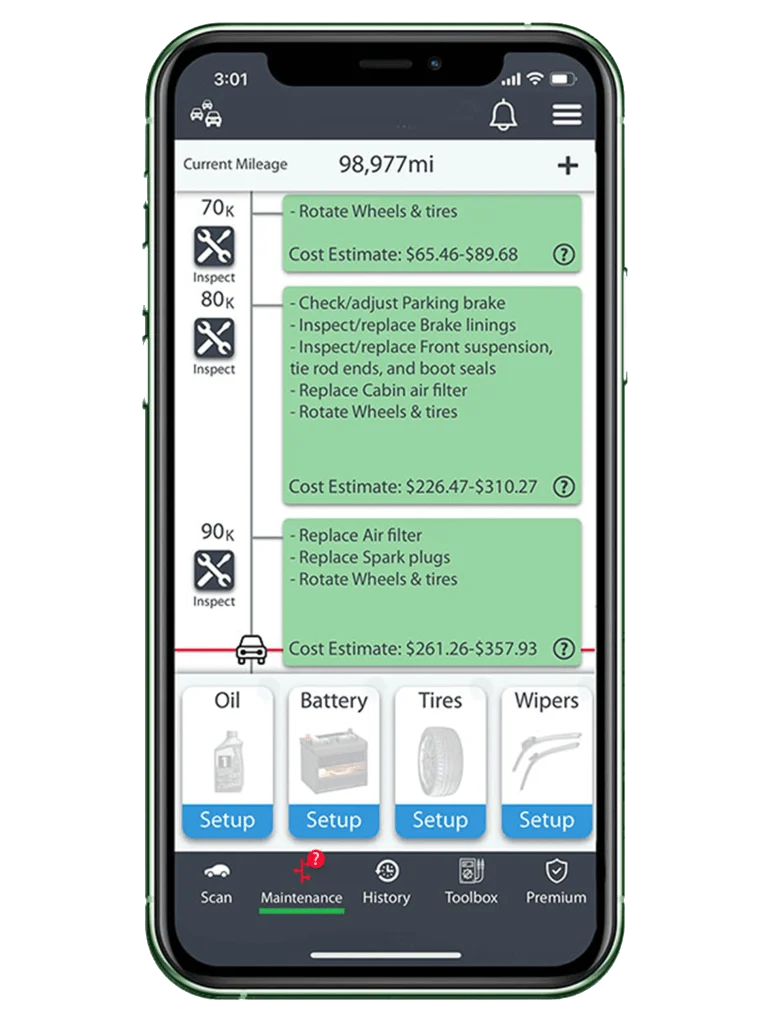
By staying informed through resources like the FIXD app or manufacturer service manuals, drivers can navigate the complexities of modern maintenance with confidence, ensuring their vehicles remain safe, efficient, and reliable for years to come.